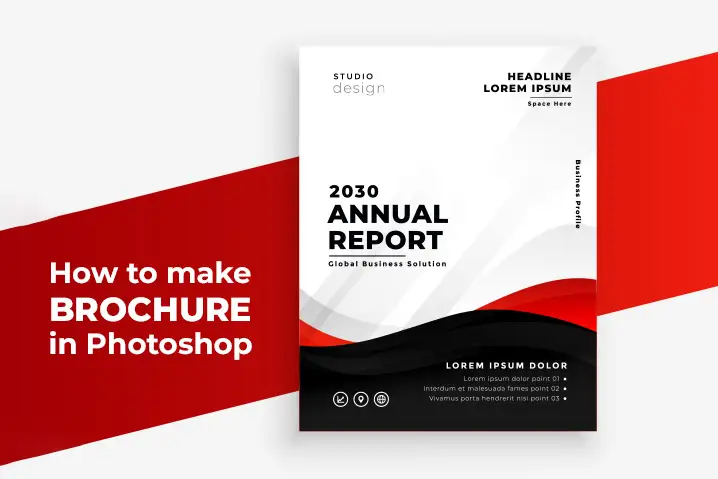
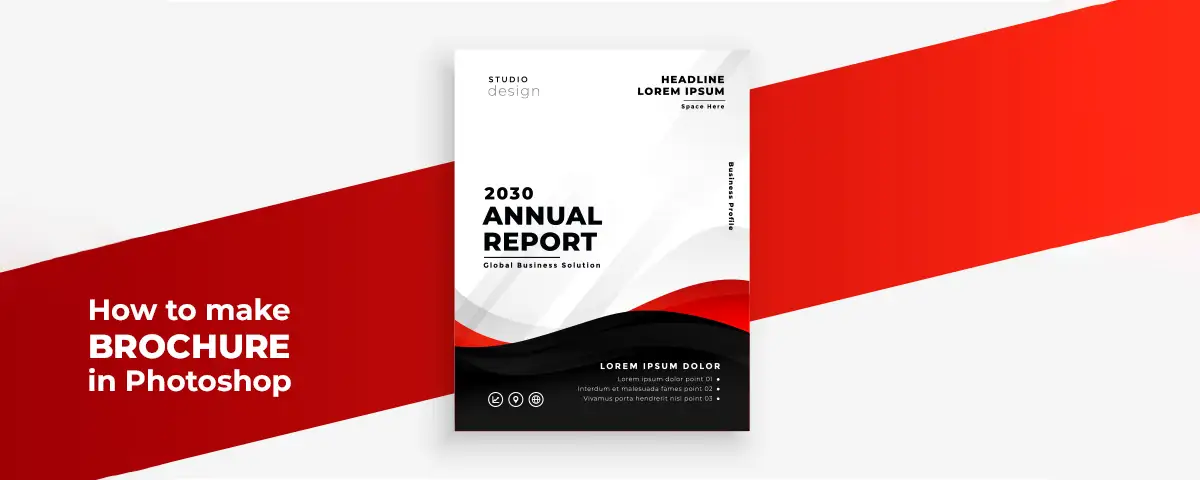
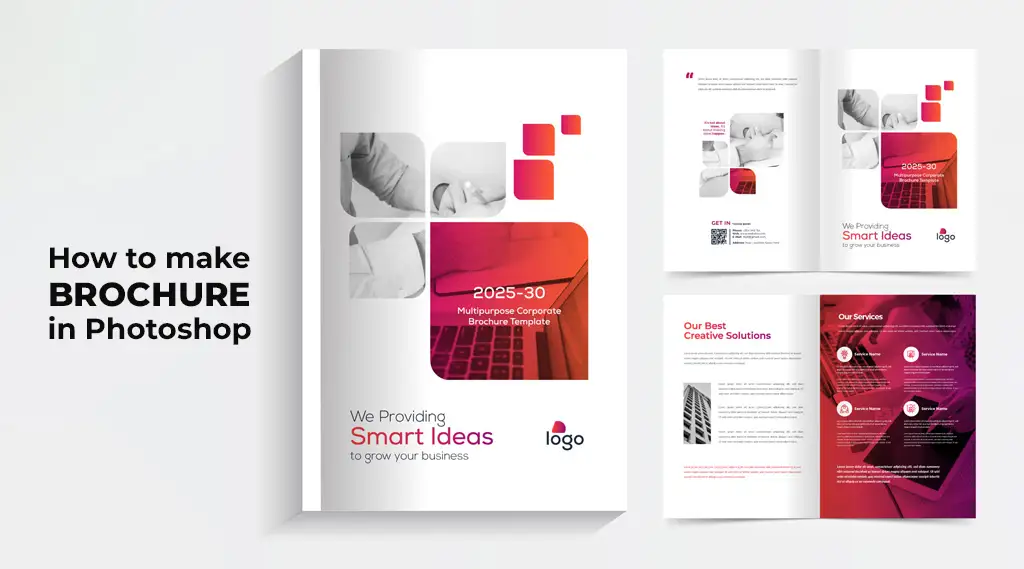
So, you are a business person looking to boost their promotions? If yes, your brochure creation is an essential part of keeping in mind at all times. So, you must know how to design a great brochure in Photoshop. Using a lavish booklet is a must for any business.
This article will give you all the information you need to make your brochures unique. So, here we go.
What is a Boucher Used For?
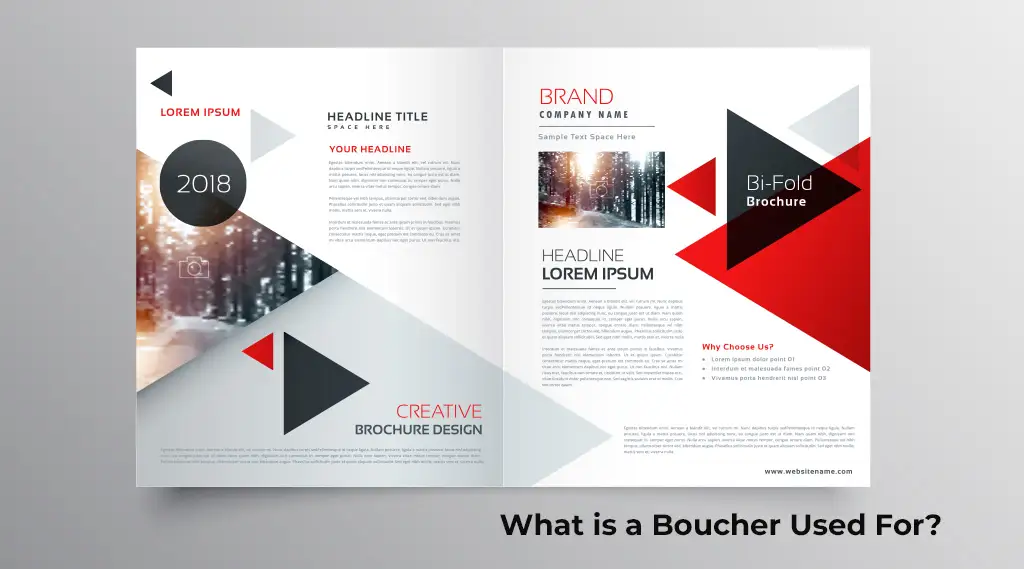
Your brochure is a great way to communicate with your audience. So, if you want to promote your business, a great way to do it will be your brochures. They work like catalogs that you share with your potential customers.
So, do you have a range of services or any products? Then, you can try them to display different aspects of your products or services.
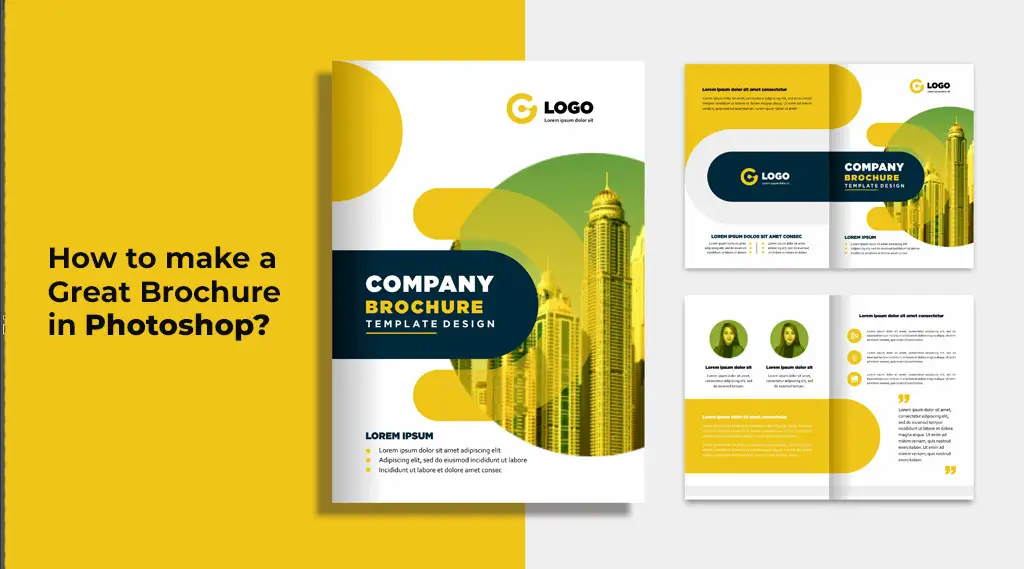
How to Make a Great Brochure in Photoshop?
You can start by opening a new document in your Photoshop. Making sure that you use the correct dimensions is a must thing to keep in mind.
- So, ensure that you keep a width of 11 inches and a height of 8.5 Inches.
- You can drag your guides from your ruler to the page; this way, you can arrange all design elements.
- Your guides will not be visible when you print your brochure.
- Then, you can press “Cntrl+R” to see your rulers. Next, you should drag rulers by pressing “V.”
- In the next step, you can increase the width and height by 1 inch. You can do this by going to “Image”>”Canvas,” and then you can increase 1 inch of your width and height.
- Then, you should go to your toolbar on your left, and you can select the “Rectangle tool.”
- Your rectangle should start from the inner guides’ area where the guides intersect.
The Next Steps
- Then, you can follow the remaining process to make your brochures. Follow these
- Navigate to “Layer Panel,” and then you can select your “Rectangle” shape.
- Next, you should select and hold “Alt.” Also, you should click and drag your rectangle. Make sure you do the same process once more. That will allow you to get 3 folds.
- You can get three equal columns when you drag the guides. Then, you can hide your rectangle shape layers.
- You should be back to your layers panel, where you should make a selection in a Rectangle shape layer. Make sure you double-click on its thumbnail. There, you can choose the colors you want from the window that appears there.
Adding Content
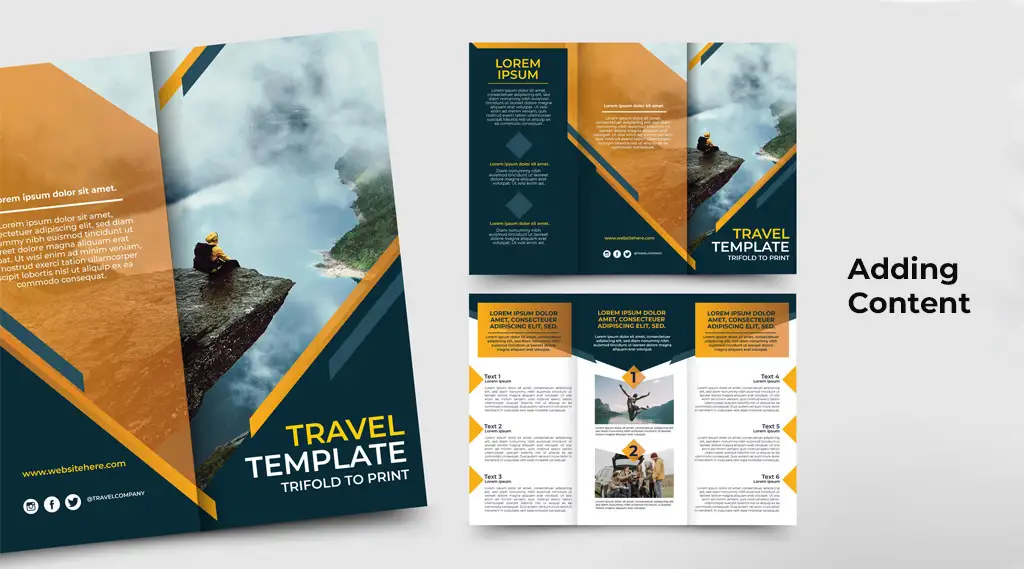
Adding content to your brochures is a process that needs so much vigilance. So, ensure you add the right text, images, and other information. Now, it is your turn to add text to your brochure, which you can do using different fonts.
Choose the right fonts to ensure your design has the right beauty to attract your audience. Ensure you play with your fonts to get your product’s right type of beauty. Also, you add the right images to your brochures to suit them and get the best product results.
Once this is done, your crop part comes. So, you can use the “Crop Tool” to ensure you make things look impressive. It would be best if you moved with your guides, which allows you to make great designs.
Final Thoughts
We discussed how you could make brochures for your business with Photoshop in easy steps. So, using these steps makes your brochures more beautiful and impressive. Ensure you use the proper steps to make things look impressive for your customers.
This way, you can better represent your products, services, brand, and business.
Leave a Comment