Twitch is one of the top social media platforms that is the future, significantly impacting the online landscape. Overlays have become an essential part of this fantastic social media. You can use these overlays to ensure your broadcast looks amazing. So, this element on Twitch can allow better interaction with your followers. You can get Twitch overlay in Photoshop. You have to do is follow these steps.
Twitch Overlays in Photoshop
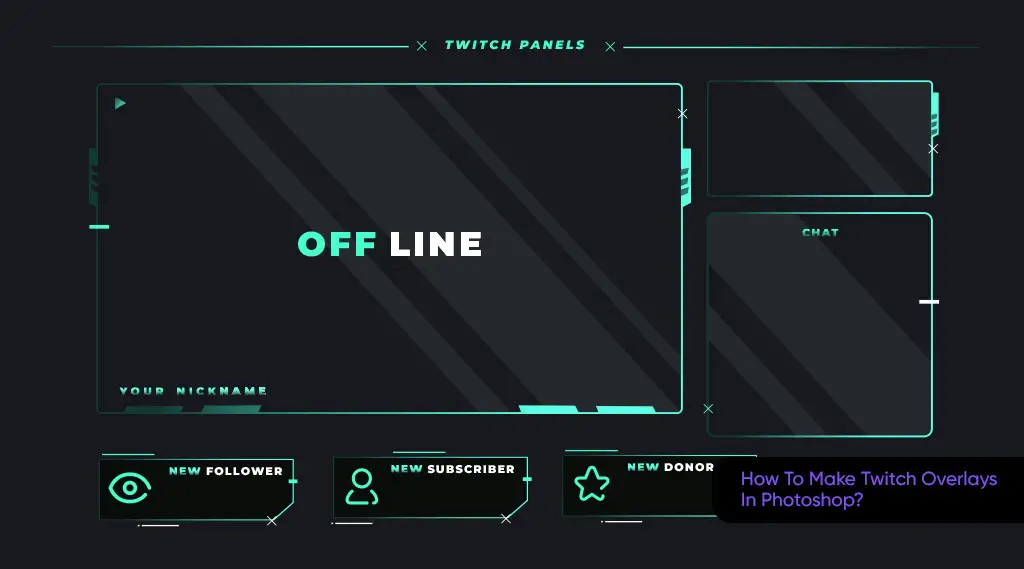
It would be best if you remembered that they improve your broadcast when it is about creating overlays. So, the better your overlay looks will always equal better results for your content. You can try out a box for your live stream and a webcam showing your face during the broadcast.
Try using others if you want your joiners to message and chat. Also, you can add the latest event portion to let your viewers see what you are up to for the following broadcasts.
This is How You Do It, Twitch Overlays in Photoshop?
Always look for the right size of your overlays to ensure they look amazing during the broadcasts. So, you should have a size of 1920 by 1080 pixels size. When you open Photoshop, you can open a new file by going to the New tab.
Ensuring your background color is good is an important part you need to keep your eyes on. So, ensure that you add the right colors to your overlays. You can add the colors by going to a drop-down near the bottom of your window. From there, you can choose the best colors that suit your work.
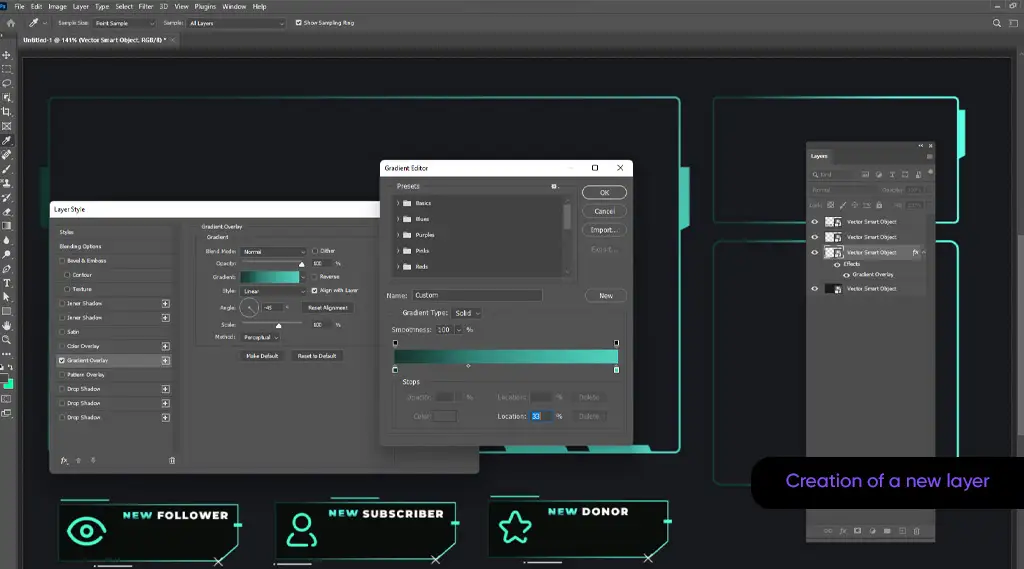
Once done, you can click “Create.” Also, you can add gradients to your project. Adding gradients is easy as you only have to go to your “Layers” panel, and there you can find a half-filled circle at the bottom. You can do that by clicking the arrow in the gradient preview section.
Adding a color that goes with your streaming is essential to remember.
Creation of A New Layer
Now, you should create a new layer and click the plus sign icon you can see there. Next, you can select the “Rectangular Marquee” tool that you can find at the top of your toolbar on your left side. Finally, you can draw a rectangle shape for your overlay by clicking and dragging it. Next:
- Make sure that this part is according to the widescreen format. It can be 1280 by 720.
- Once you have a selection, you can right-click inside your selection. Then, you can choose from your “Stroke” menu.
- You can choose the color and line width from the next window in your box. Make sure you select the “Outside” button to allow your selection to stay outside. You can press “OK” when you think you need this.
The Next Step
Next, you can rasterize the background layer. So, right-click on your gradient layer and choose “Rasterize Layer,” which you can find in your menu. Once done, you must remove the background by pressing “Backspace.” Then, you should click within the selection and press “Cntrl+D” for Windows and “Command +D” for macOS.
How To Add Webcam Window?
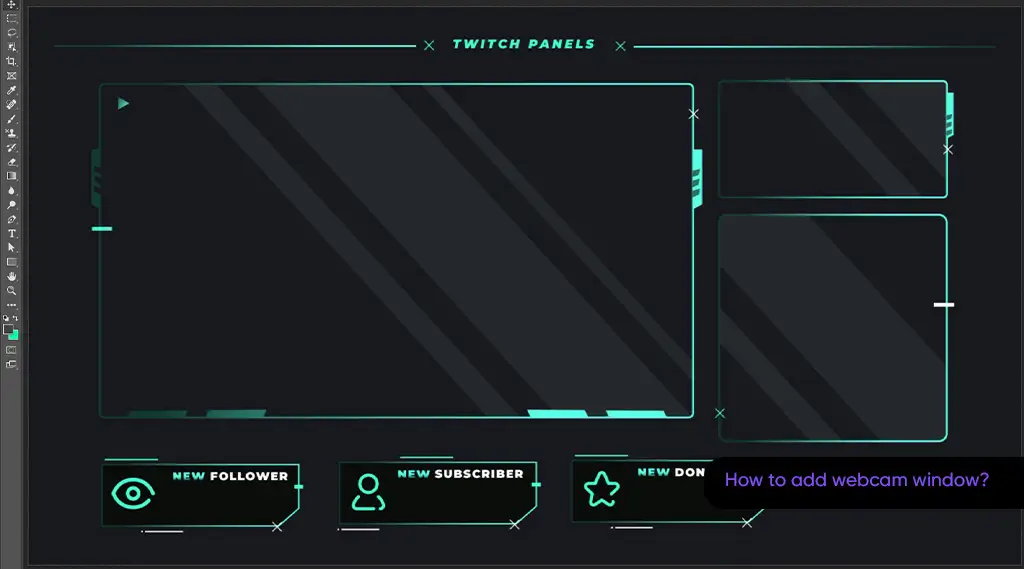
Creating a new window is easy, and you can follow the steps in which you create a layer to make your windows transparent. This way, you can get another window to complete your process.
- Try using the “Elliptical Marquee” tool if you want another shape, and you can create a circle for your design.
- Then, you can hold the “Shift” button and drag your selection to help create a circle.
- Next, you can select the colors you want to use by selecting in the Color and the Contents box. This way, you can get a background of your chat box.
- Then, you can press “Cntrl + D” for your Windows device, and if you have a macOS device, you can use “Command+D.” Now, your rectangle will be no more selected.
How To Add Text To Your Overlay?
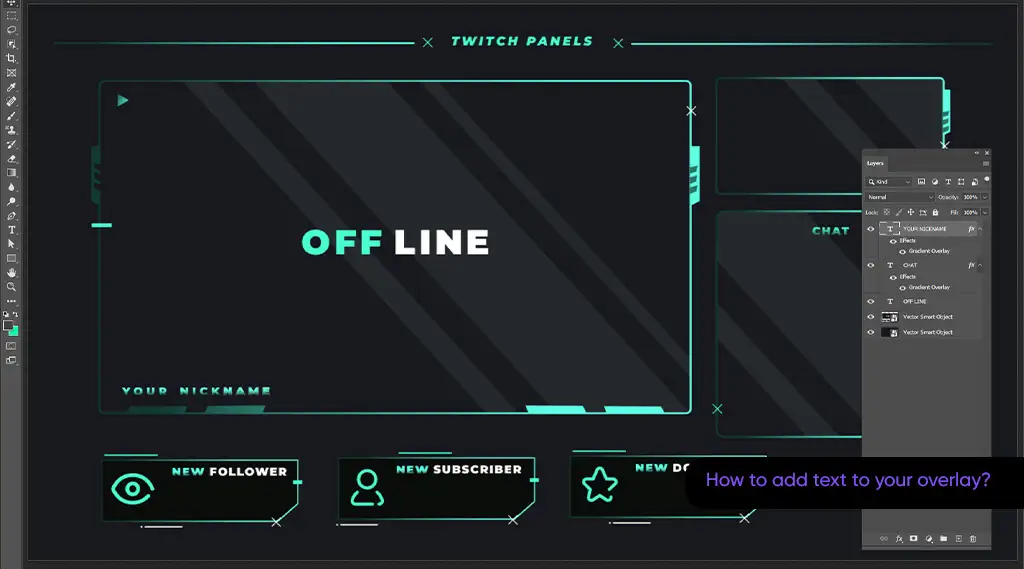
Text can help you improve your overlay uses, so remember to use it for your elements. This text is your communication with your audience; you can do this by adding some content that talks to them. So, follow these:
- Open your Horizontal or Vertical Type tool to ensure you can add text. You can also use “T” as a shortcut key.
- Then, you can add text to your project by clicking where you want to add it. However, adding simple text may never be the right option for any design. So, you can change different portions of your text by changing things like size, color, and font type.
- You can change them by going to your “Options” bar.
- Try customizing your overlay’s look by adding decorations and other beautifying elements. Then, you should save your overlay to edit and use for your broadcasts.
- For this purpose, go to your “File” option and then the “Save a Copy” option. Select the “PNG” option and use this file type to save your design. Also, you can try using the
- “PSD” option if you want to make changes later.
So, this is how you can get free stream overlays without spending even a dime. All you need is Photoshop and some sense for making designs with this software. So, easy peasy, you have a perfect Twitch Overlays in Photoshop for your broadcasts.
Final Thoughts
We discussed making Twitch Overlays in Photoshop for better broadcasts and which elements to add. So, you can easily read how you can get a free Twitch overlay for your broadcasts. This social platform has a lot to offer, and you can rely on it for its excellent results in live streaming. So, try this layout creation method and let your audience learn about that.
Leave a Comment