6. Top Shooting Angles For Your Products
Top Shooting Angles To Try
| Front Angle | Try Using This Easy Angle To Show All The Top Features Of Your Product |
| Profile Angle | This Angle Is Perfect For Taking The Product’s Backside Picture And For Showing Its Backside Features. |
| Macro Shot | It Is A Great Option For Taking Close-Up Pictures, And To Get Better Results With That |
| Top Angle | You Can Try Using This Bird’s Eye View Angle For Difficult Issues. |
| Three-Quarter Angle | This Angle Helps You Show Multiple Dimensions Of Your Product, Like The Front, Side View, And Top. |
Use Multiple Angles To Find The One That Suits Best
Photography takes time to learn, just like many other skills and arts. So, you can use some angles that work for shooting your products and use these for different products too.
The best way to use your angles is to shoot from every side to ensure your product photos have the best features. These angles would work perfectly to let your audience know how the product looks as a whole. The more angles you use, the more help your audience finds out what the product is like in real life.
So, you can try every angle possible to give a 360-degree idea of your product. At the same time, you can try eye level, low angle, bird’s eye, and slanted angles.
Plus, there are other angles that you can try to make your products look super impressive.
Another great way to find the best angles would be to go to an eCommerce marketplace and look for similar products. Then, see what angles worked best for these websites and try them out to make your own photos that look brilliant.
Using creative product photography can improve your brand message and help people to learn about your business,
Top Angles To Try
Try these angles out, as they can totally transform the way you take pictures.
Front Angle
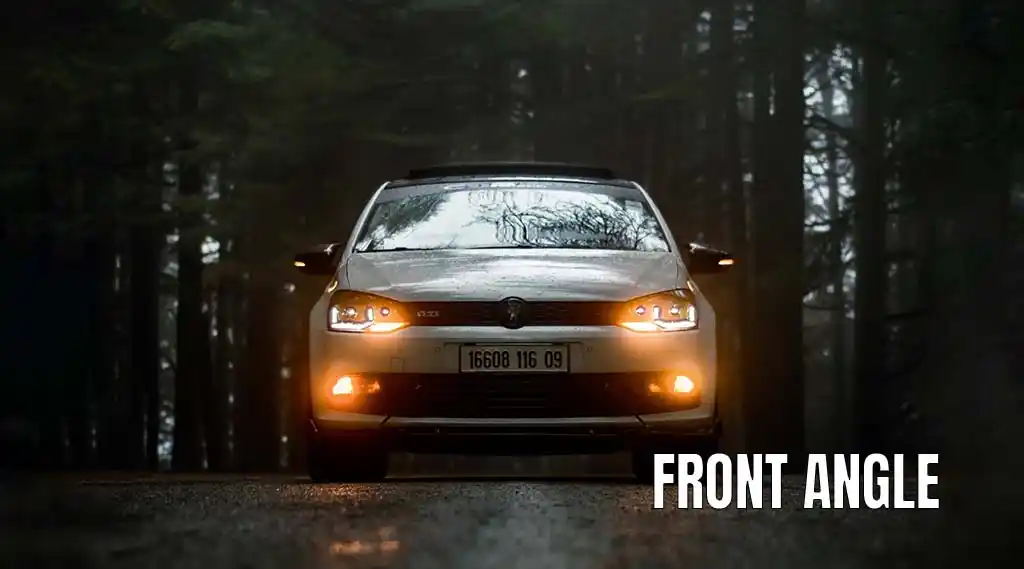
A good front angle is one of the easiest ways to take product pictures. All you need for such a shot is a camera, a background, and a tripod. In addition, you can create great shots by decorating your products with different props.
You can take front-angle shots to ensure you show all the top features your customers will be interested in.
Profile angle
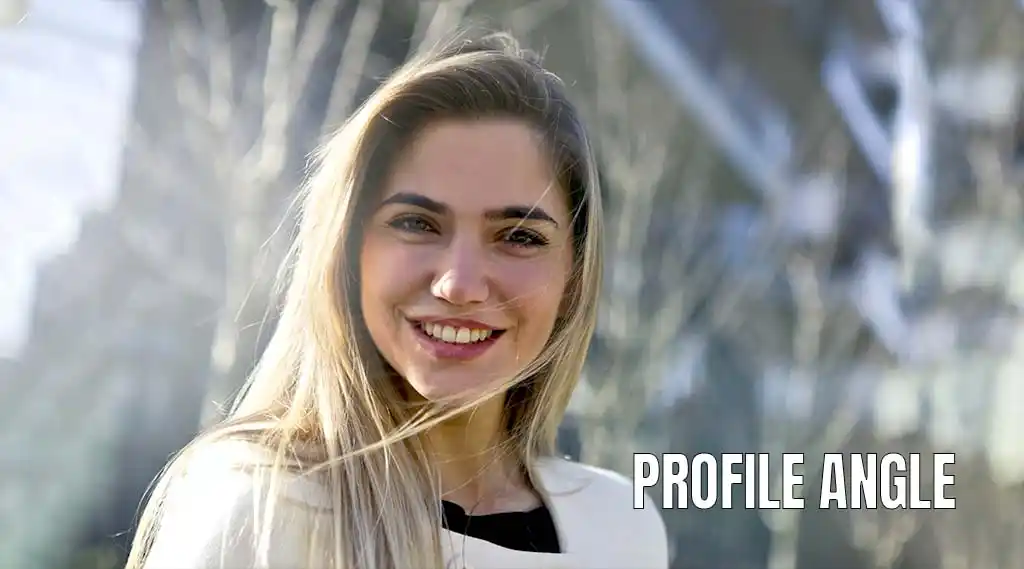
This angle is another one that is simple to take, and it features the side of the product. You can use this angle for goods like shoes, food, and others. Try using the features in the picture that would be more important for you. So, you can try to find the best features to ensure your product looks special.
Then you can look for the best shots for a product and find the best ones for another. Every item will have special angles you can use for your photography.
Back angle
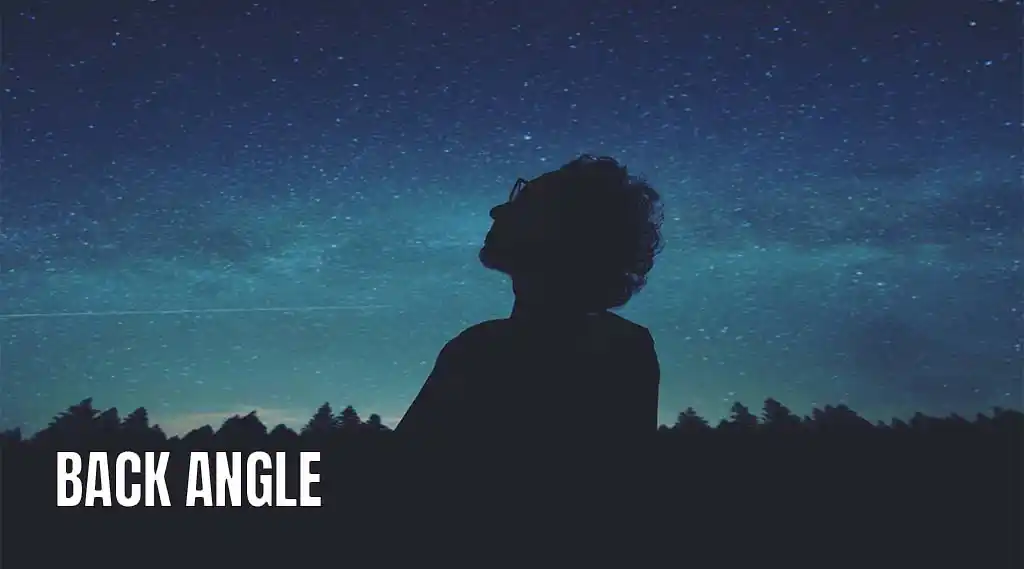
This one is just what it implies, and it allows you to take the product’s backside picture. So, you can show the features of your merchandise or a shoe and what it looks like from the back. This way, you can show the whole product without compromising its features.
Macro shot
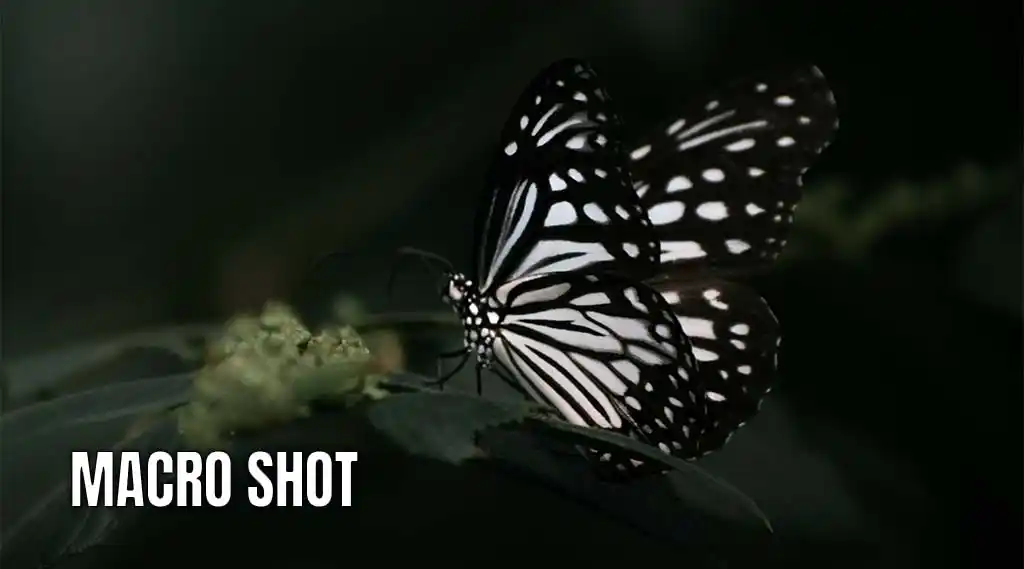
It is a great shot to show your product’s main attractions and the best details of your products. Using this angle can help you with the most detailed results for your photos. So, it is a type of close-up photo-taking technique that works great for your photography.
Top angle
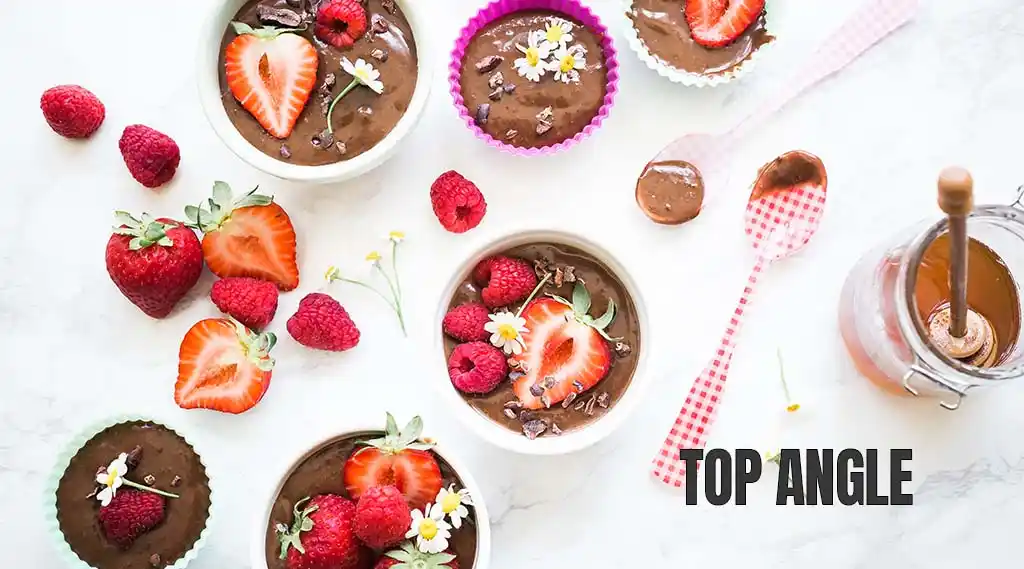
Top angle is a great way to capture your product without having to work super hard. It is a great angle that helps you with a great way to show your product look from a bird’s eye view. In addition, this angle would work great to show an overview of your product’s features.
It is one of the angles that are a bit difficult to get, and you can get this one for the flat-lay shooting category as well.
Three-Quarter Angle (45-Degree Angle Shot)
This angle works great when you are looking to show multiple product dimensions. So, use this one to make your product stand out by showing all the front, side, and top of your product.
