8. Post Production to Give Last Touches

Now that you have some amazing pictures on your device, you need to have a post-production process that helps you with perfect results. You can try several tools to produce amazing effects on your product photos and set them to perfection. The best one you can find in the market is photoshop which can perfectly help you with great retouching.
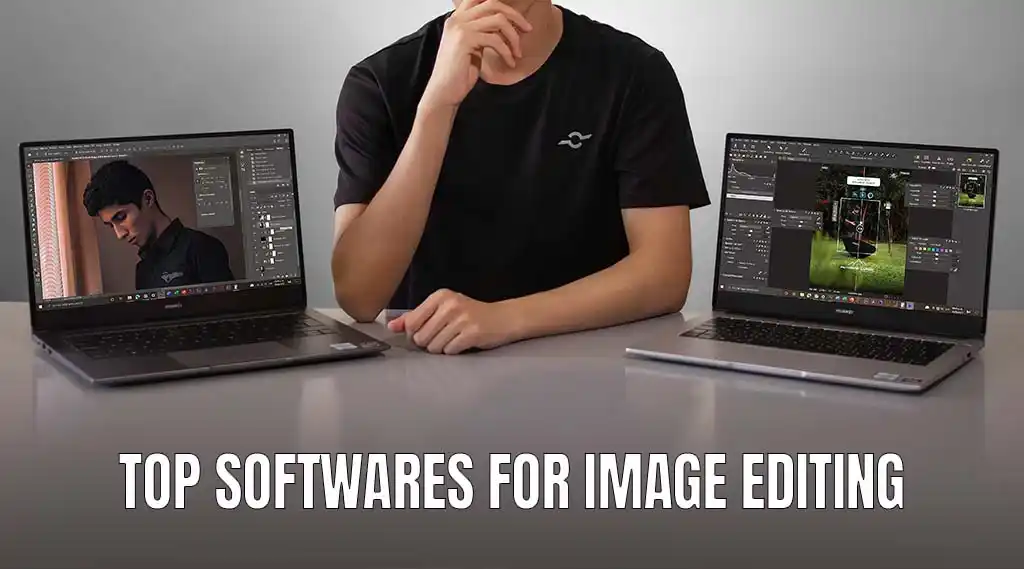
We have a list of tools that you can try to make your product photos better and more impressive in post-production.
- Adobe Lightroom
- ON1 Photo RAW
- Corel PaintShop Pro
- Skylum Luminar AI
- Serif Affinity Photo
- DxO PhotoLab 4
- GIMP
- Fotor
- Inkscape
- Photo POS Pro
- BeFunky
- Canva
- Pixlr
- Photoshop Express
Using Adobe Photoshop
You have to make several editing changes to improve your images and make them look special. So, you should know how to edit a picture with Adobe photoshop for these purposes:
- You should know how to remove the backgrounds of your photos.
- Learn about how you can improve photo sharpness.
- Make sure you know how to add or remove shadows from your photos.
- Also, you should know how to improve your product photo’s colors and change them.
- Adjusting the white balance is also an important factor you must take care of in the editing process.
- Improving the color and sharpness of your photo.
- Also, you should know how to create the Ghost Mannequin Effect.
- How to remove smudges?
Now, we have a step to step method to perform some of the most important operations in your post-production.
How To Do White Balance With Photoshop?
One of the best ways to do the white balance with Adobe is to use the Curve tool. You can do it automatically by:
- Start by adding a curve layer for adjustment.
- Then, you can click on the right side, where you can find the “Properties” tab on the edge
- Next, you should select “Auto Options” from a menu that you can find in the window.
- Make sure that you select the “Find Light & Dark Colors” option and just click “Ok.”
Another way you can adjust white balance:
- If your image has a warm color, you can reduce it by moving the red line that you can find on the upper right edge of your user interface.
- Then, if the green color looks high in the image, you can move the green light down to reduce it.
- Next, you can add color to ensure the image looks balanced in white.
- Make sure that you try using manual settings if multiple light sources are used in the picture.
- Automatic adjustments may be less useful in conditions when you use multiple light sources for the photo.
How to Remove Shadows From Your Images
Images are what you have at the end of your photography session, so you need to learn how to retouch them to perfection. In addition, you should know how to remove them from any photos you want to use for your social media, website, or any other channel.
- Start by opening the photo and making a duplicate layer.
- Then, you should select the Patch Tool in photoshop and select content Aware from its dropdown.
- This way, you can get new pixels in the photo to improve picture.
Select the area you want to remove, and you can drag it to change the area.
A great way to get what you are looking for will be to make sure you use the right settings that meet your needs. For instance, you can use the Structure option in the toolbar to make the necessary adjustments. Try using the Color section to ensure your color blending is right and according to your needs.
Also, you can use the Healing Brush tool or Clone Stamp Tool if you want more details in the picture.
You can use many other ways to reduce shadow harshness and make it look cleaner. So, you can try the Clone Tool for the purpose, and this is how it goes:
- Open your image and duplicate your background.
- You can click and select the Cone Stamp and pick a medium-sized brush. Then, you can select an area that is not shaded, and then you can press Option or Alt and give a source pixel. Your cursor will look like crosshairs; you can select the required pixels.
- Then you can remove the shadows by painting in the area, and that is close to removing the ones you are coloring in.
Changing Photo Color In Adobe Photoshop
Changing your photo color can help your product look more appealing and perfectly adorned for your customers. Follow these steps:
- Go to the Select dropdown menu and then click Color Range which you can find in its option.
- Go on and select the Eyedropper Tool, and you can adjust the colors you want to have in your picture. And you can select different colors to get a better range of colors.
- You can open the layer menu once you adjust the Fuzziness Slider.
- Just open your layer menu, and you can go on and select the options next, “New Adjustment
- Layer,” and then the Hue/Saturation option that you can find there.
- Use the Create Clipping Mask option once you leave the Use Previous Layer, and you can make the change to get the best adjustment in your layer.
- Next, you can select your masked layer and get the color you want to edit from the second dropdown. You can find and adjust the sliders of Hue and Saturation to get the look you want.
- You can choose several options from the colors available to get the color you want for your images.
How to Create a Ghost Mannequin Effect?
The ghost Mannequin Effect is one of the best options that can help you make your product pictures special. So, you can use it to make your products special and make them look better. You can:
- You can start by adding a new background layer to the file and fill the white, for which you can use the Paint Bucket tool.
- Then you should add the white background layer as the first one in the layers in the two files.
- Use an isolation tool to the image layer of your product image.
- Then, you can improve the image with the Refine Edge Tool, and you can click Ok once you go to refine the edge command. Make sure your mask gets its placement.
- Next, you should use the layer from the Cut command to complete the process.
- Make sure you delete the remaining imager layer, and the only remaining content will be the background layer.
We have a step to step process for you to get the best results out of your smartphone product photography.
- Start by setting your table close to your window and keeping it 90 degrees from the setup.
- Also, you can use a 45-degree angle or window behind the subject. Ensure the light does not hit the setup straight to avoid bad looks.
- Use a backdrop for your picture depending on your product’s position. It can be behind the product, under it, or wherever it would cover your product’s back.
Set your camera for the photos and use the settings that go with the settings and your device.
Sharpening Images
Sharpening your images is a great way to make them look special and useful for your needs. So, you can follow these steps to make sure that your product looks better in the photos you have taken:
- You can start by right-clicking the background layer and duplicating it from the Duplicate Layer option.
- Then, you can click Ok and see a new layer you find on the background layer.
- Next, you should set the blend mode to the layer to Luminosity, and it is a new layer.
- Then, you can try the Unsharp Mask Filter and the next thing will be to use Smart Sharpen to the new layer of the different image. Make sure that you do not apply both on the same layer.
- Zoom in by 100 percent, then go to the Filter option and Sharpen. Next, select the Unsharp Mask
- Filter, and you can see its window open.
- Make sure you sharpen all the areas of the images you want to be sharpened with the Preview option.
- Try sharpening by 60 to 200 percent according to the needs of your images.
FAQs
Where is product photography used?
Product photography is used for several platforms to help you improve your sales on digital channels like social media, search engines, and landing pages. Also, it can help you with other types of promotions that you need for sales and branding purposes and need images for it.
Why is product photography important?
Product photography helps you with better brand promotion, awareness, and visibility on social and other digital platforms. It also allows you to get more eCommerce marketplace and store sales. Plus, it works for offline marketing methods like promotions.
What do you need for product photography?
There are several pieces of equipment you need to have if you want to do product photography:
- A good camera device
- Lighting system
- Backdrops and other props
- A small studio with good light conditions
What is 3D product photography?
3D photography allows you to create product pictures that appear to be real-life products in the form of photos.
How to eliminate shadows in product photography?
There are several ways you can use to remove shadows from the taken pictures with editing software. For instance, you can try using Adobe Photoshop for the purpose and try this method:
Open your photo, duplicate your layer, then use the Patch tool to select content Aware. Next, you can remove the area you want to get rid of.
What is eCommerce photography?
E-commerce photography is taking pictures of the product that you want to add to your online store. The better your pictures online, the more chances of getting more sales for your online business.
Wrapping it Up!
Now, we have all the tips you could ever think of when taking the right pictures of your products to promote online or offline. So, these tips can help you get more sales with your eCommerce store, social media marketing, and paid media promotions. In addition, you can read about the benefits of the right product pictures when it comes to getting more sales with your digital marketing efforts and beyond.
Benefits like better brand image, conversions, great product beauty for your customers, and showing the right features your customers want are all you need. So, the better your product pictures look, the more sales you can obtain from online and offline channels. At the same time, you can read about what product photography is, what settings you can choose, and what equipment is preferable for you.
You can learn why product photography is essential to building your brand, which devices work best for the purpose, and much more. We mentioned smartphone and professional camera use and the tips to make your images stand out.
Also, you can read frequently asked questions about this process and how to improve your light, post-production, and angles for better product photos. We also mentioned different types of product photography and equipment that suit lighting and other conditions.
Once you read the guide you can learn about different retouches, camera settings, backdrop trends, and lighting pieces of equipment. Plus, you can get information about other pieces of equipment that suit your product shoots and smartphone settings that you need to have.