5. Checklist For Camera Settings
Checklist For Settings
The setting is a great way to ensure your product stands out and gives a certain impression. The thing is that you can only make your product stand out with the right settings. Light, shadow factor, and in-house plus natural settings are some common ones you can use for this purpose. So, it would help if you learned about them to make sure you get unique shots of your products.
A good rule of thumb will be to avoid shadows in your product photo to make sure that you make your product look super special. Likewise, make sure that you improve your product’s visibility to make sure it looks super special and makes your product look amazing.
Next up, we have some top tips for using different camera settings.
Your Camera Settings For Product Photography
The experts would always recommend you use manual settings to get better results and learn faster when using a professional camera. This way, you can learn the best settings that you can use for certain light and other variable conditions to learn.
You can follow a complete product photography setup to make your work smoother and of better quality. The more beauty your product photography has, the more your work will be taken as a creative product photography job.
7 Simple Steps to Perfect A Photography Session
We have a step to step process for you to get the best results out of your smartphone product photography.
- Start by setting your table close to your window and keeping it at 90 degrees from the setup.
- Also, you can use a 45-degree angle or window behind the subject. Ensure the light does not hit the setup straight to avoid bad looks.
- Use a backdrop for your picture depending on your product’s position. It can be behind the product, under it, or wherever it would cover your product’s back.
- Set your camera for the photos and use the settings that go with your device.
- The next step will be to ensure your product is set up correctly before you take the pictures.
- Next, use your reflector card to get the best light conditions.
- The last step is to take a picture and learn new things about photography before you perfect it.
You can follow these tips to make sure that you know how to take professional photos with an iPhone, as it works for phones so well.
Top 4 Effective Camera Settings For Great Product Photography
| Setting White Balance | The Right White Balance Settings Can Help You With Getting The Best Color Quality |
| Shutter Speed | Try Using Slower Shutter Speed For Low-Light Conditions To Improve Your Picture Quality |
| Aperture Settings | The aperture Helps You Improve The Amount Of Light Entering The Camera, And A Wider Opening Of This Part Helps Improve Light Conditions For A Camera’s System. |
| ISO | Start From The Lowest ISO And Increase It To Capture Photos In Low Light Using Different Settings For Different Light Conditions And Test It To Improve. |
White Balance
White balance is the most important setting for getting the best colors in your photos. Using the right settings can completely change how pictures are prepared regarding colors. Normally, your camera would work well to create colors, but it may not if your studio has no white or near-white shades.
So, this is how to take professional photos with an iPhone and get perfect quality photos that make your content special.
Shutter Speed
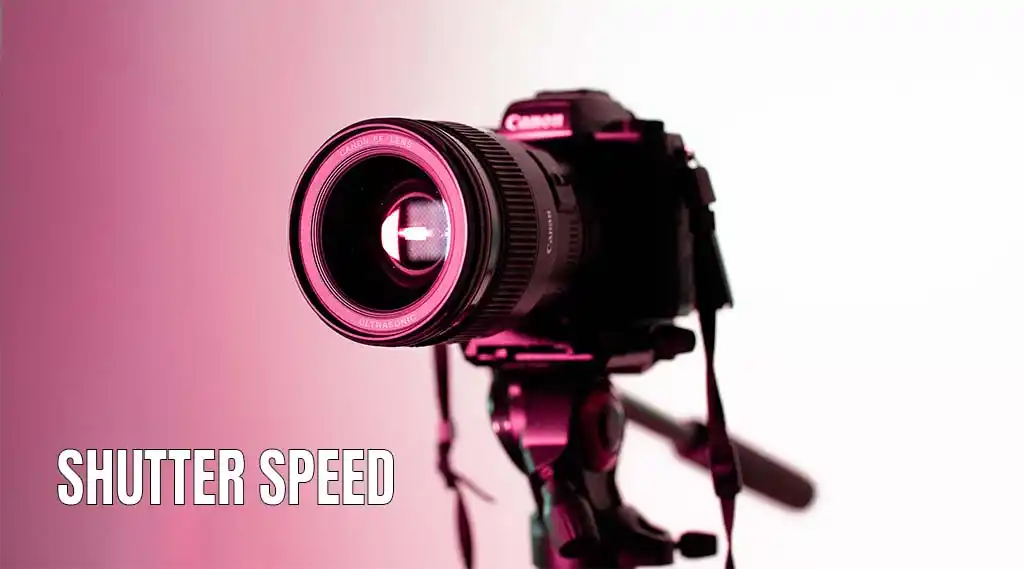
Shutter speed settings can play a huge role as it shows the speed of your shutter. So, if you have a slower shutter speed, it would work well for low-light conditions. Moreover, it would work better with lower aperture settings, and you should try to avoid shakiness to the maximum.
To avoid shakiness, try using a tripod and a release cable for the shutter.
Aperture Settings
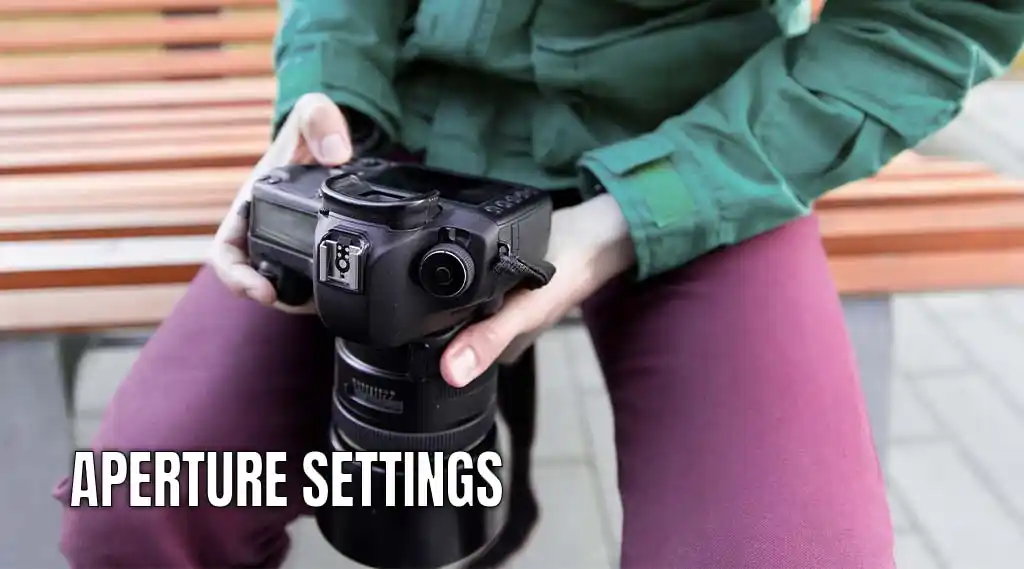
Aperture is another setting that can completely ruin or transform your photos to perfection. So, it needs to be as wide as you can get. It is the part that allows light into your camera, and the more light you get, the better image quality. So, what size measurement of your aperture will be the best, as it needs to be smaller for a wider opening?
A 1.4 aperture will give you a better picture with a wider opening, and f 16 will give a smaller opening with the least qualitative pictures. So make sure you use a wider opening of this part to get more light into the camera to improve image quality and vice versa.
ISO
Using the right ISO settings can help to improve your photo quality, and you can try starting from the lowest ISO. Then you can increase it. Try to start from a lower value and look out for the results you get with them. You can increase your ISO if you want to capture photos in low light, but the lower your ISO, the better photo quality you will get, so use it well.
Try using different settings for different light conditions to ensure you get the perfect shot with the right brightness and image details.
All of these camera settings for product photography are the factors you should always remember and keep in your mind. Try these settings to ensure your products work perfectly well in all kinds of light settings and other variable factors like colors.
Lighting
Light is the primary setting you can always remember when getting quality photos. We list the top equipment you need to execute your work using the light setup for product photography. Using light wisely can change the way your end product looks. We have some tips that can change your photos to perfection:
The next section has all the tips you need for shooting in natural light when you want to work with a model or even mere products.
Shooting in Natural Light
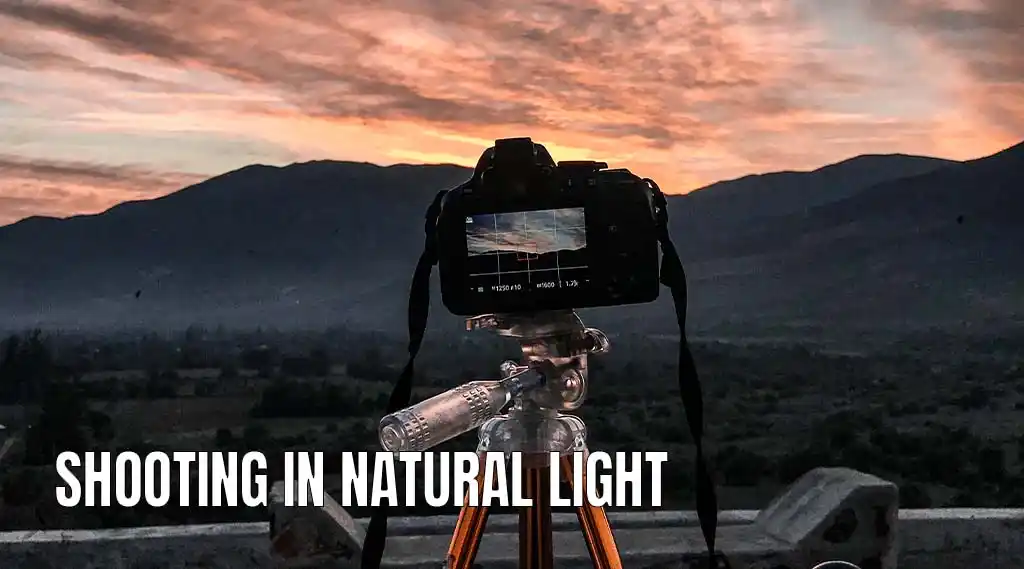
Natural light is the best option for many different types of product photography so that you can try it. Still, there are settings where you are in natural light, and you can also use a window to shoot your photos in natural light.
Getting the best product photography lighting is something you should always pay attention to. Ensure you do not have low-grade light conditions, as lighting impacts the photo quality heavily.
Indoors Natural Light
Start by making your subject face towards the natural light source, which is the light from a window in this condition. Try to get a source that does not emit light from above and use a reflector to even out the light. Ensure that your reflector helps you with natural light from a reflector.
Ensure that your reflector has an angle opposite to the source to make a better natural light condition. Try to use this method when your day is super bright. You can also learn the best angles when you shoot multiple times to perfect your photos.
You should be sure you can control the natural light to the maximum level to get the best photo results. There are some types of lighting that you can use to find out if this is the natural light setting you want.
- Front lighting is when you get light to your product’s front.
- Backlighting is when you get light to the back of your product.
- Another type is side lighting which happens when natural light hits your product from the side.
You can also use reflectors to fill the shadows and make your photos special. But make sure the light you reflect suits the photos, and you do not overdo it. Try to shoot just next to your lighting source, and you can use a 90-degree angle. This way, you can have the best amount of light and reduce the amount of shadow to the minimum.
Using a white background can help you with a good amount of light, and you can also improve your camera’s white balance, and using a sweep can help you with that. In addition, using a sweep can help your background with a great picture as you get a great picture with the right details.
At the same time, your camera will capture the closest color theme your product and photo have when you use these sweeps. You can use a chair to sweep the background by resting it on the chair. Also, you can use a table to place your product on it and use a sweep in the background.
This way, your product will have a white background that perfects a picture with the right details and natural background. These light settings for product photography can help you with dazzling results with perfection.
These amazing tips can help you improve your product photography results and impress your customers. The better your impression of your customers, the more sales you can make for better money flow. You can try creative product photography to ensure you get the highest sales and branding for your work.
Now, you have some angles to try that we give in the next section; it will definitely help you succeed.
Shooting with Sun Out
Taking a photo in the sun can be difficult due to some complications with your portrait. For instance, it can cause shadows under your subject’s eyes and other body parts. So, you should avoid using mid-day sun settings.
Also, you can shoot with your product or model in the shades. Make sure that you are not facing the sun with your camera, and you can also use flash to remove your subject’s darkness.
All you have to do is to make sure you use flash to make your subjects look brighter.
Short lighting
This type is a great way to get a portrait picture of your product, and it is one of the best lighting methods that work perfectly well. Ensure you know your product’s color tone the next time you shoot a picture with short light. This technique has lower light in the end product.
Broad lighting
This type of lighting is when you use the broader side of your subject for photography and make it brighter with your light. Also, you can try it for subjects that have thinner facing surfaces and you have a certain way of facing your model. For example, you can face your model partially turned away from the camera.
Butterfly Lighting
This type of lighting is when you use a beauty dish for lighting. You use a beauty dish to make your photos stand out in such lighting. Try using reflectors that can reflect light toward the subject. You can get diffused light with a soft feel for your product photos.
Removing Shadows
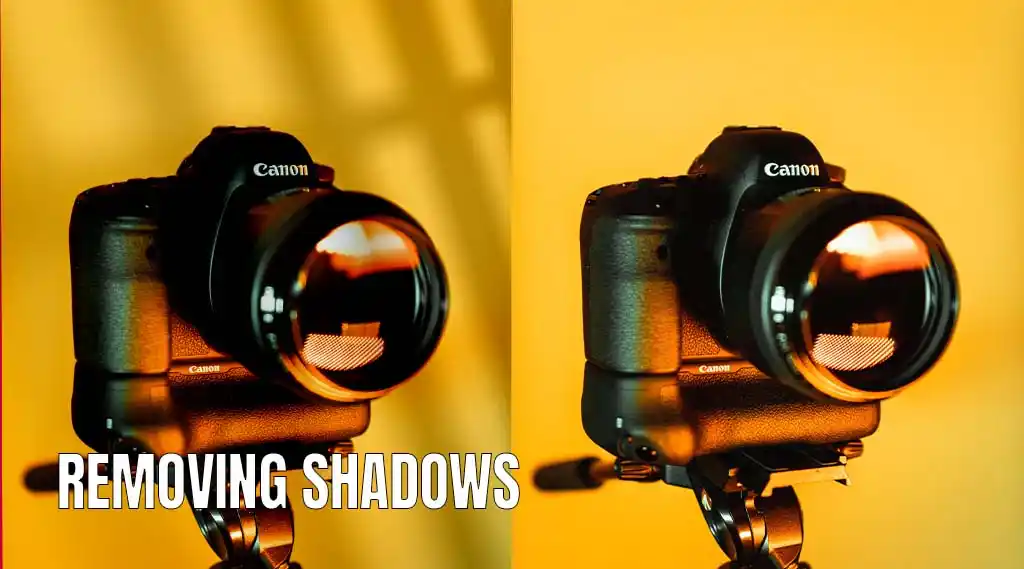
Shadows can be your enemy when it comes to photography of any type. The same goes for product photography, and you can use the right lighting to ensure you have no shadowing issues. So, here are some tips to try:
- Try using more than one light to ensure no shadows on your photos.
- You can remove and edit shadows from your product photos as well.
- The flashlight is not always your friend, so learn to control it to make your photos special.
- Try to be clear about your positioning during the shoot to ensure you stand in the right place.
- Use a Translucent Acrylic Flexible Surface with a glass table and use some light under it.
- A big light box can help you improve your results. So, look for the best light box for product photography.
- You can try using a white card opposite your lights to help your lighting better minimize shadows.
So, using a straight flashlight may not work, and you should avoid using it as it would form shadows on the opposite side of the light.
Try using windows to get natural light from one side of your studio or room. It would help you eliminate the chances of shadows in your photos. When we talk about reflectors, you can try using an umbrella as it can help to reduce your shadow issues.
Avoid light reflecting from a wall behind the product, as you can have shadows if the space is too closed up with less area. Now, we have some tips for smartphone product pictures.