Chapter 5. How To Make A Blog Website Using WordPress

Now, a blog needs to follow a method to make things work correctly. So, you may alter something with other methods when you follow something for one part. But a thing to remember is that you can make changes according to your website requirements.
So, here we go:
Starting Up With A Blog After Hosting and Domain Purchase
Now that you start your work by going to the backend, you do with the following methods:
- Log in to your hosting provider and go to your website backend.
- Once you create an admin user on the website, you can use this code: yourwebsite.com/wp-admin.
- You must write this on a browser and log in with your credentials. You will enter these credentials during your WordPress installation on your website.
- Then, you can create other users on your website to let people access your site similarly.
Once you are the admin, you can start designing it further. Now, you can access your website from any browser with your credentials, and others can join you as moderators, admins, or editors. So, this is how you start your site after buying hosting and domain and installing WordPress.
How to Choose a Theme?
- Go to the “Appearance” section in your Dashboard.
- Then go to the section where you can find an “Add New” button.
- You can search for any theme you want for your website in the “Search” bar.
- Install it and then “Activate” it to apply it on your website.
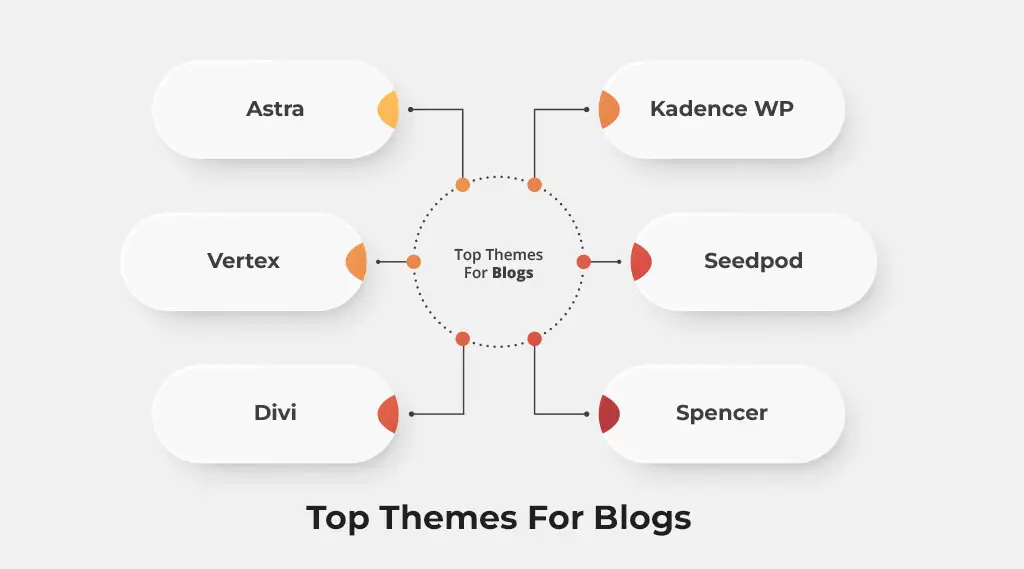
If you already have a theme, you must deactivate it before activating a new one. Here are some great choices for a website.
- Astra
- Vertex
- Divi
- Kadence WP
- Seedpod
- Spencer
Add Plugins

Now, a host of plugins is available for a blog, but some would do the job. So, for a blog, you should have YOAST that you must add. How to add a plugin:
- You can go to the backend of your website, click the “Plugins” button, and then “Add New.”
- Then, you should search for the required one, “Install Now” and “Activate.”
- Another plugin named “Starter Templates” will help you with designs for each page on your site.
- This way, you can have predesigned templates for every page you want to add to your website.
- Then, you can use the templates you want to add once you have added a page builder. Elementor is a great choice you can use for your blogs, and it also allows easy operations.
- You can choose several templates; you should use the one that suits your website well. You can try “Import Complete Site” and add any template. Follow the prompts, and you are done.
Once you have this portion done, you can have different pages. Other elements like comment sections, images, and a menu will also be added. But you need to customize your website to make sure your website starts looking great.
Adding Dummy Content
You can try adding multiple posts simultaneously by opening pages and clicking “Add New” in the “Posts” section. Try adding dummy content to your website and use it to make your website ready for the beginner part. Finally, you can try using the “Classic Editor” plugin in your backend to ensure you can use it for posts.
Make sure you add new posts by adding the title section and the remaining part. Add multiple posts by clicking “Add New” every time in your “Posts” section in your backend. Also, you can add dummy images for your posts, also known as featured images.
You can use the classic editor for this purpose. All you have to do is to see on the right side of your classic editor page, and you can “Set Featured Image.” This way, a big part of your user interface will be done.
If you need dummy images, you can use the following platforms for the purpose:
- Pexels.com
- Unsplash
- iStock
- Adobe Stock
- Free Pik
For this part, you should not try to add very specific pictures; add dummy content. You can add and remove some pages according to your needs by going to the backend or dashboard.
Change Your Display Menu
Changing your display menu can help your audience navigate better and more easily. So, you can go to the backend and then:
- Go to “Appearance.”
- Then, go to your “Menu” section and change the “Appearance” of your menus.
- Next, you can add any pages to your primary menu from this page by ticking them and clicking “Add to Menu.”
- Once you have added the pages you want, click “Save Menu,” and your menu appearance will change. You can select the type of menu you want for your home page.
You can select this menu as your “Primary” menu that will show on your home page. This will be the same position for your Primary menu regardless of your theme. Also, your “Appearance” section allows you to make submenus in your primary menu. You must change the bar’s position with your menu item name and drag and drop it.
Also, it is possible to change the text that shows on your primary menu. So, you can go to Appearance, then Menu, and change the menu text to whatever you like. For instance, you can use words you want to attract your audience, so try that out.
For instance, you can try naming a certain page according to what it carries as content. Like blog to your blog page, plus you can change it so your users see its titles.
Home Page Design
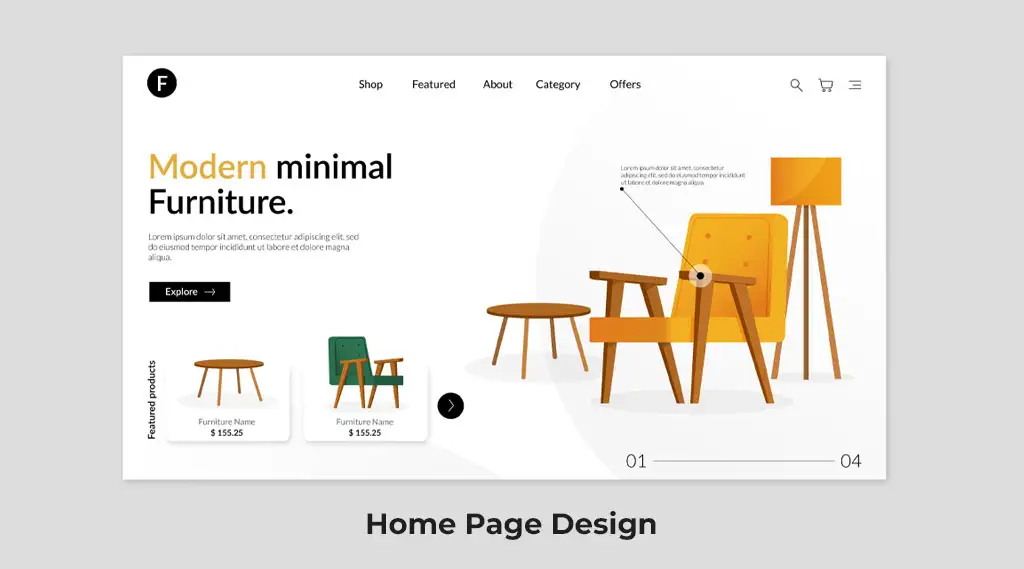
Now, the home page is the most important one, which is true for every website. So, your home page needs to look superb, and you can add a lot in the hero section or other parts. Before you start the process, ensure you have the “Unlimited Elements For Elementor” plugin for your website. This way, you can get the widgets you need in this process.
Adding this plugin will be as simple as adding any other, as it is compatible with Elemntor.
So, a hero section can make your blog home page look special. You can add big images to your website to look special and beautiful. If you want to add this section, it is easy; follow this process:
- Start by going to the home page you must have created in the backend of your WordPress.
- Click the “Pages” button and then “All Pages.” Next, you should open your home page by clicking the “Edit With Elementor” button if you have Elementor installed (you can do that just like other plugins from the backend).
- Your browser will take you to your page, and you can start by adding a new section.
- Add a section from the “+” sign in the page’s middle.
- Next, you can use one section and add an inner section and spacers. Your spacer size depends on how large you want your image to be.
- Then, you can select the image widget from the available options. This way, you can add images to your spacers and create your hero section.
Displaying Latest Articles

Now, you need to display your latest articles on your home page and create a separate page for blogs. So, you can start by adding them to your home page; these will be the posts you made with dummy content. The method will be to:
- Start editing with Elementor, and you can add two different widgets to your home page.
- The first one will be “Post Blocks,” which you can add by searching in the widget search bar. You can find this on your page to the left side of your window.
- You can drag and drop this widget from there into your inner section. The posts you have added will appear on your home page.
This way, your latest articles will show on your home page.
Making the Header and Footer
Making headers and footers can help you display other information and navigation for your users. So, you can add these in this portion:
- Try adding your email address and other contact information to your footer.
- Also, you should add your social media handles in this section.
- Make sure you add your menu to this part; you can call it quick links.
- The header section is important and should have your Main menu or Primary menu.
- At the same time, it should carry your logo on the left side.
So, how do we add all these to your website? You should start by adding a plugin named “Header, Footer & Blocks Template.” Then, you can go on and start working on it. The whole process will be in the backend of your website.
Then, you can go to your “Appearance” section and click “Header Footer Blocks.” You can add a new one from there. Give a name to your block, and you should also select the type of block you want. At the same time, you should select which pages you want to add to your section.
Make sure you select “Display” on the dropdown. The option most appropriate for such a section will be “Entire Website,” allowing you to display it on the whole website. Another option you must add is selecting from the “User Roles” section.
So, you can select All from the dropdown, and you will be ready to click the “Publish” button.
Adding A Logo To Your Header
Now, you should be clear that you must go to your website’s front end. So:
- Open your header page by clicking “Edit With Elementor.”
- Then, you can go to the page and add a new section by clicking the “+” icon.
- Next, you can choose a layout for the section you want to create.
- Click the one that has 3 different subsections.
- This way, you can add three different portions to your site.
- Start by adding your website logo, and you can do this by uploading a logo into this section.
- Go to your elements panel on the left side and drag and drop the Logo widget into this section.
- You can add a logo from your device by simply uploading it.
- You should enable “Customize” and click on the canvas-like section you get on your left-hand side.
- In the next step, you can select your image and drag and drop it to the section you want to use.
- Once you have a logo there, you can drag the “Width” line on the left-hand side. Then, you can modify and change your logo size this way.
Add Menu To Your Header
No website home page would look great or helpful without a menu section in your header. So, you should add one to your website at any cost. This is how you can make things look special:
- You can add the menu widget to the middle section of your header. Then, you can use the “Layout” section to ensure your website menu looks nice.
- This way, you can make your things look aligned and amazing.
- You can center-align your menu from the “Layout” section.
How To Add a Button To Your Header?
Now, any website can use a button in the header section, allowing you to add a link. What we mean by a link is that your website navigation will be easy. Also, you can highlight a certain page on your website that you want your users to pay attention to.
For instance, you can link to an affiliate or product reviews page. This way, you can add a link highlighting your website’s sales page or anything useful and important.
So, here is how you can:
- You need to add the button as you already have a section that can handle your button in the header section.
- Also, you should select the right structure for your header from the “Structure” section on the left-hand side.
- So, you can search for a widget in your search section for widgets. Then, you can drag and drop it into the right side of your header.
- Your “Button” widget will allow you to add this to your section.
- Then, you can go to your left-hand side section to modify and change your button.
- WordPress allows you to make any changes to your button section. So you can try some out.
- You can go to your left-hand side and add some text to your button as you like. You can do that by adding it to the “Text” section.
- Next, you should add a link to your button will lead to.
- So, click the “Link” section and paste the URL you want your users to visit by clicking this button.
- Once you think your website header looks great, you can do a preview. So you can see what your website looks like before you publish it.
- The next step will be to make any necessary adjustments and then hit the “Publish” button.
Adding The Footer Section
The Footer section can help you add links and visually make things look amazing. So, if you want to add a footer section, you can add social handles and quick links to important pages. Also, add a contact section to display this information.
So, the method will be the same as the header section, and you can add it by:
- Go to your backend and then to “Appearance.”
- Click “Header Footer Blocks” and add new from the “Add New” button.
- Name it, and you can go on and select the “Type” of your block, which will be “Footer” in this case.
- Next, you should populate information about where it should be displayed on your website from the “Display On” dropdown.
- Also, you should select “All” from your “User Role” dropdown.
- Then, you can hit “Publish” to apply this change to the whole website.
Adding Sections To Footer
- Start by adding a section in your footer by editing your footer with Elementor by clicking “Edit With Elementor.”
- You will go to the front end of your website, and you can then edit your footer.
- Go to your “+” icon and select the number of subsections you want to add.
- A good practice will be to add three subsections, allowing you to place 3 different elements.
Adding Contact Info
Now that you have sections to your footer add more subsections. So, you can try adding contact info to your footer. Just drag and drop the heading section widget from your Elementor elements. Then, you can add any contact info you want to add to it by typing this information.
Add Social Handles And About Us Section
Your social media handles can play wonders in bringing more people to your social accounts. So, this is how you can add them:
- You can go to your backend’s footer and click “Edit With Elementor” to get to that section.
- As you already have a section in your footer, you can add a widget named “Social Icons.”
- You have to drag and drop it into your section.
- On the left-hand side, you can select the social platform you want to add to your link to.
- You can add the link to your Link section under it.
- This way, you can copy and paste URLs of your social platforms and paste them into your link section. Your handles are ready to make the magic.
Adding About Us:
• You can add the heading widget to your section and write the content you want to add. All you have to do is click the dummy content on your left-hand side.
• Then, add “About Us” and anything else you want.
• To write more content, add the “Content Editor” widget and do the same to this portion.
Adding Website Links To Footer
You can try adding links to important pages to your website that will help people navigate easily. Add a subsection in your section with a heading widget. Then, you can give it the name you want to, use the menu widget, and add “Navigation Menu.” Then, you just have to drag and drop it into your section.
Adding Colors To Your Background
- Also, you should add color to your header section background by going to your “Style” tab.
- There, you can find a paintbrush sign.
- A new sub-menu will open; you can add the color from a red slash button.
- You can add any color from the open panel, and your color will be applied.
Blog Page
You can try adding your latest articles to your blog page using the same method you used for the home page (see the home page subheading). Also, you can try using widgets you use to make things look great, like Post Blocks. And if you want to add more pages to your blog page, you can do the following:
- Go to your page by going to your backend, and then you can click “Edit With Elementor.”
- You can add a widget to help you add your posts to the page. This widget will be “Posts,” which you can find from the left-hand side panel.
- Then, you can go to the page and add the pagination with the “Pagination” option. Finally, you can select the type of pagination you want to add to your page.
- Next, set the right page limit to ensure your content looks great. This way, you can make things easy for your user, and it will also be navigatable.
- You can go to your “Style” section to make changes in your pagination section.
- Then, you can go to “Typography” and other options to play with them. Play as much as possible to find the best beauty for your pagination section.
- Once you think you have the design you want, you can hit Publish. This way, you can add the pagination that works for you and make things look special and impressive.
Adding pagination to your pages can help your users to navigate with ease, which is the core of the process, so:
- Go to your “Query” block; you can find the “Content” tab, and there you can go to your “Source” section.
- You can select the number of “Pages” in the dropdown.
